Making the letterpress prints for Collected Patterns: The botany of Walter Hill was such a great experience and I learned so much in the hands of printmaker and director, Jay Dee Dearness, of Myrtle Street Studio where the work was produced and is currently on show.
A little walk through the process:
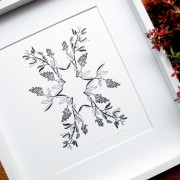
1. Create the design
2. Create a digital file with the motif in reverse
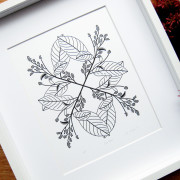
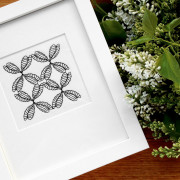
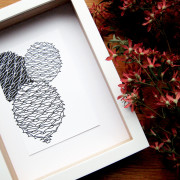
3. Print the image on transparency paper (image: top left)
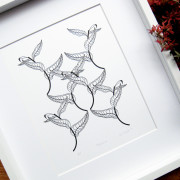
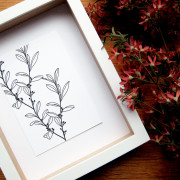
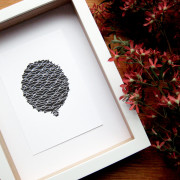
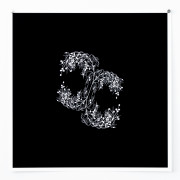
4. Expose the image on a photopolymer plate under UV light and wash back the negative space (image: top right)
5. Check the finished plate
6. Adhere the photopolymer plate to the backing adhesive
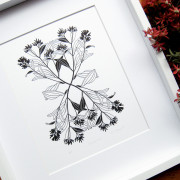
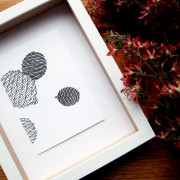
7. Adhere the backing adhesive to the platten (image: 2nd row left)
8. Slot the platten into the press and take a blind impression to check your paper is loaded correctly
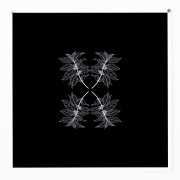
9. Ink up (image: 2nd row right)
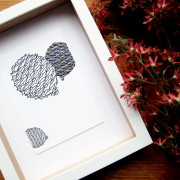
10. Get printing! (image: 3rd row)
11. Don’t forget to hang your prints out to dry! (image: bottom row)
This collaboration was a great opportunity for Jay Dee and I to share knowledge and learn from the process. Remember, the quality and thickness of your paper stock and the fluidity of your ink will make a huge difference to the quality of your prints. Originally printers used to ‘kiss’ the paper with the plate, rather than leaving a deep impression as many letterpress printers do today. We chose to do something in between with a very subtle impression which gives a little added depth and texture to the work without distracting from the image.
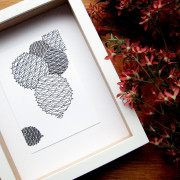
Myrtle Street Studio is open today from 12noon to 6pm if you’d like to pop in for a chat and to see the lovely Caladium postcard-sized prints below!

